Yes I am a Ponder. I have, in fact, Pondered twice. It is Good to Ponder. Both ponds have been in the standard kidney shape, both with the waterfall in the ``corner''; my present pond is about twice the size of the previous one. Mind you, then so is the property :-)
Why this page? Again, (apart from the Badgering) the linksbelow display a particular bias toward PVC liner type of pond. I would say most have a complete bias to that type of pond. You can UV harden PVC all you like, but this is (or was, we've had 240mm in Nov!) ``Sunny South Africa'', and there is no way that such a liner would last. Another major objection is that a liner is about four times the price of goode olde fashioned concrete!
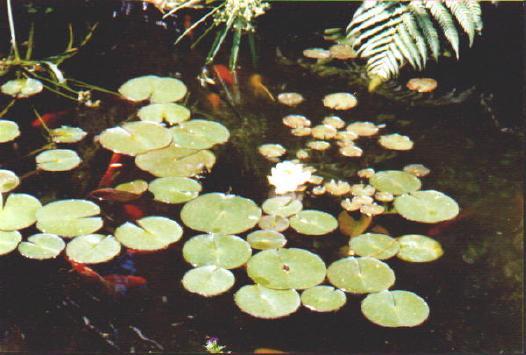
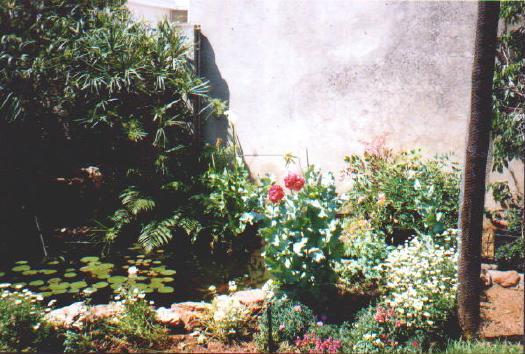
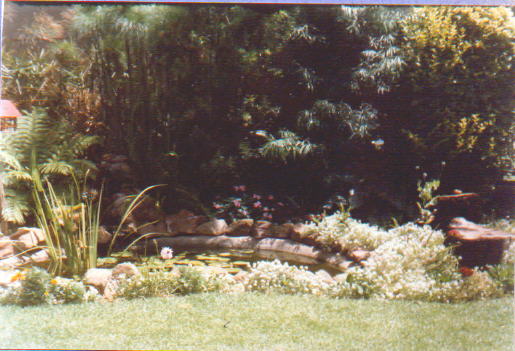
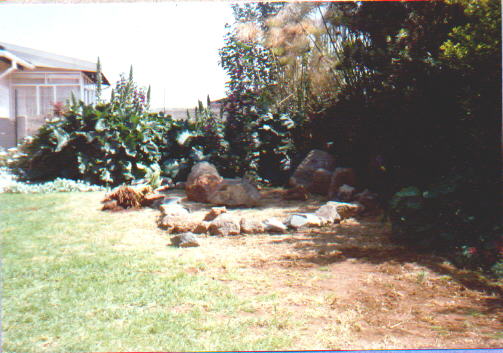
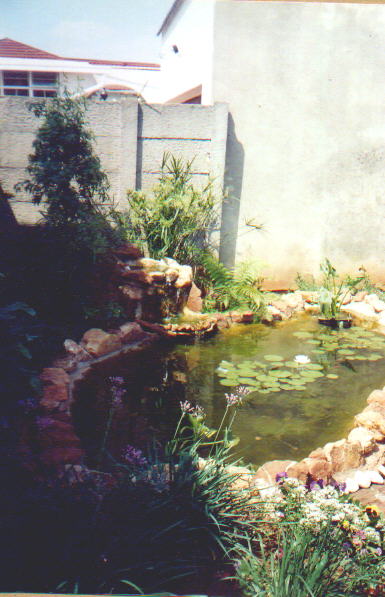
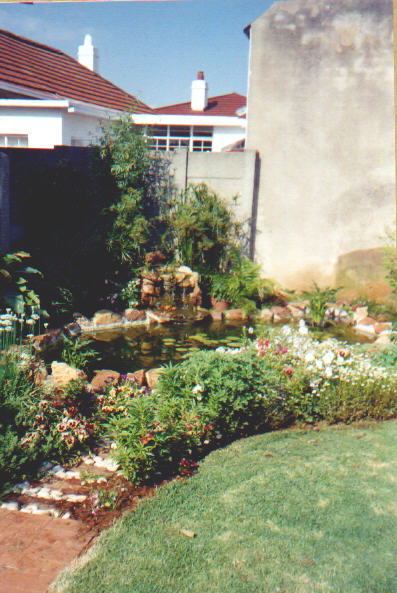
To finish off the intro, a pic of the two finished ponds (All pics scanned at 100dpi, about 45k):
Another major reason for the site is that it took to mid October or early November for the grass to eventually grow back---ie it was a) a bit of an eyesore, and b) Shady. Too much sun, especially in SA, and pea-soup results despite all the oxygenating plants in the world, complete with all biofilter recommendations!
The biofilter and pump need to be hidden in some way, and so a screen of some sorts is required. This must be borne in mind in the planning stage. In the Kensington pond, I simply shoved the thing behind the 5" concrete fence between the house and the boundary.
Block paper is very useful for getting the size and positioning (and shape) right in the overall scheme of things.
Factors influencing the site are therefore:
In conclusion, the step is not useful. If you do have plants that need a shallower bit---add some bricks under the pot. Leave a gap so that the fish can get under and feel protected etc. The step is also a pain to construct. As a corrollary, for reason (c) above, make the sides of the pond relatively steep :-).
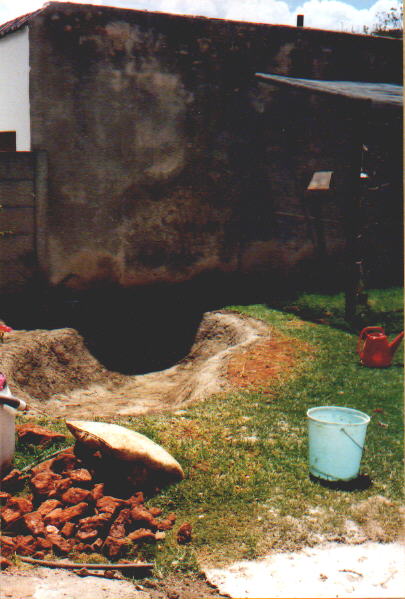
Mark the pond on the grass with flour as in the pic below. Hosepipes are useful things to smooth out the curves.

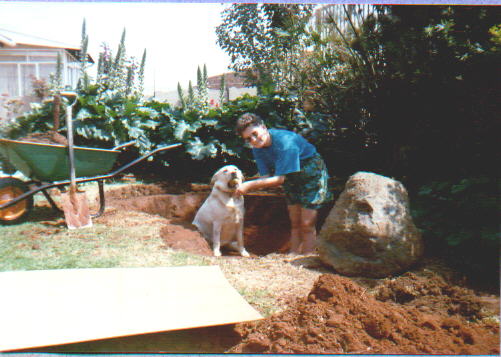
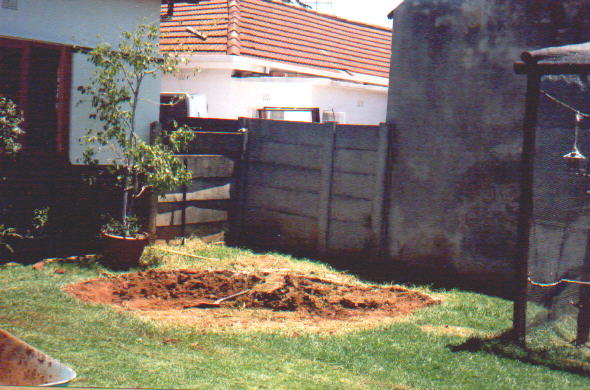
Then hit the digging!
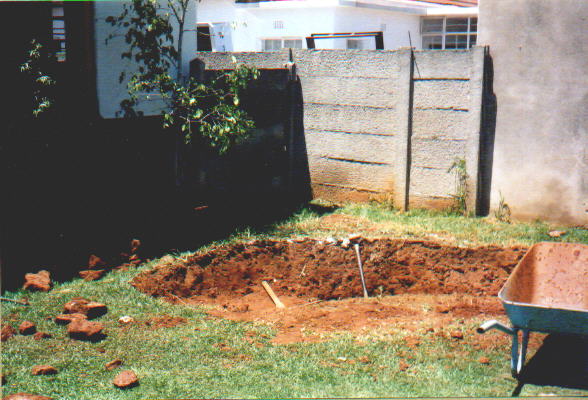
The question of course is: how deep? In Kensington, I had a gently sloping bottom as might be seen in the pic below, 360mm in foreground; 560 in background---why? too much rock in forground :-) Also clearly seen is my provision for a ``weir''. Reasoning being that I did not want the pump to be at the bottom, since the fish don't do well if there is a leak in the system, and water goes bye-byes. Also, I wanted to put something there which hid the pump. Didn't quite work out as planned, but I would probably do it again! In Crosby I had the pipes coming straight out the pond, and it doesn't really work well, no matter how you try to hide them.
Note also that the bottom is relatively rounded. The concrete doesn't stick too well to an acute angle!
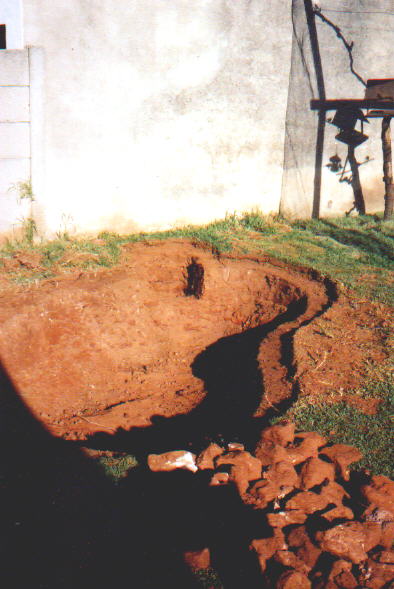
Now for the important part. If you look at the first pic of the finished Crosby pond, what do you see???? A good three inches of concrete under the rocks on the far side!!! I levelled by eyeball, which tells you a lot about my eyeball :-) If anything the ``far'' side of the pond needs to be lower than the near side, but obviously if you can get it to be level...
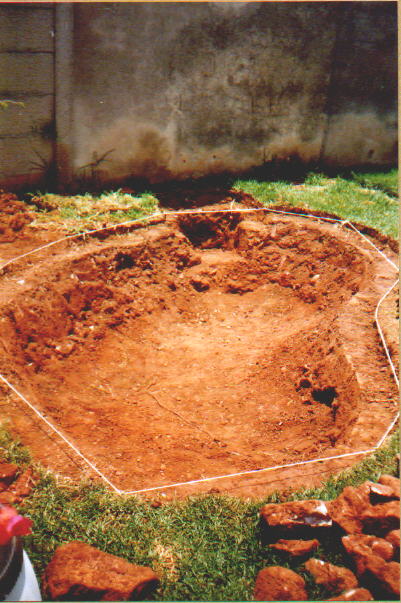
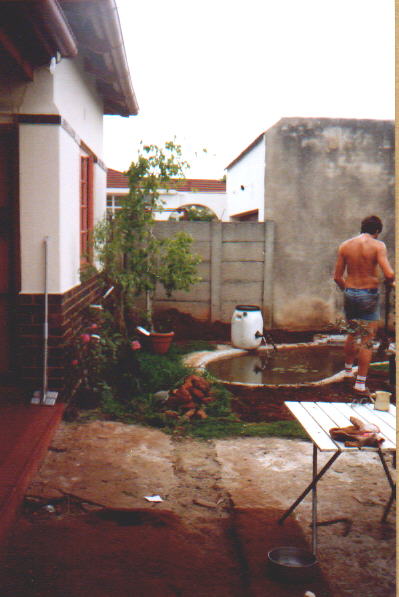
This, by the way, is one of the drawbacks of a concrete pond. Its a tad difficult to move :-) I managed to get the Kensington pond level to within about 5mm all round, which is jolly marvellous. Basically, knock some large 6" nails or similar into the ground along the outer edge, and string 'em together as shown below. Obviously also need some string to criss-cross the pond as well. Get out the dumpy level, and tap away until they are all at the same level. This may take a while :-) I persevered because of the Crosby experience :-( On the left hand side you may notice a clearing of the grass for the foundation for the waterfall.
Thus endeth the first day.
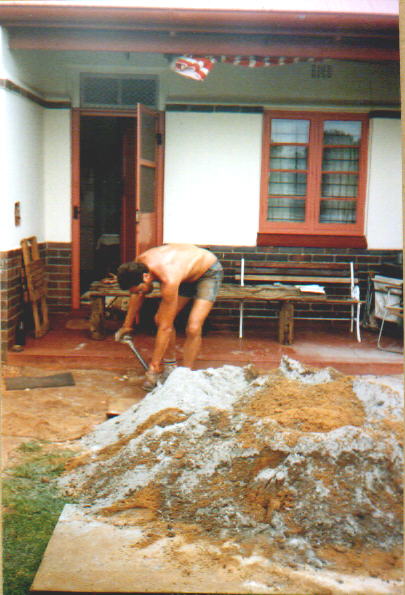
It is greatly important to be married at a time like this, as the wife and I worked round and round at opposite ends, first dry mixing, and then adding a bit of water at a time, until the mountain of concrete was attained! This probably occurred in the early afternoon. Yes, it does take time! Note the hardboard which assisted as a dagga-board.
The packing of the concrete then proceeded. You will notice a nice wooden trowel at the bottom of the pond. That is all its good for. Mind you, I could put a sail on it.....
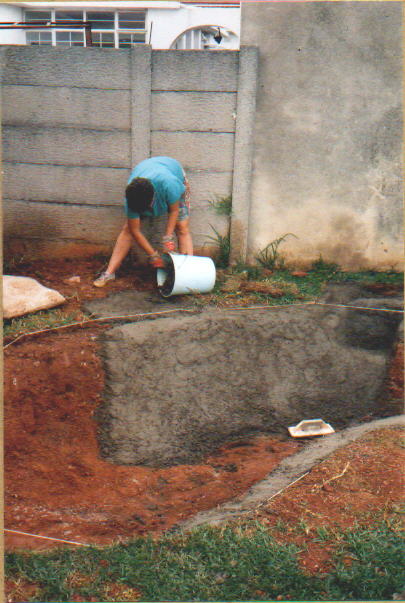
Concave surfaces can only be packed by hand. Your hand becomes very interesting at the end of the day. To prevent cracks, we need at least 2--3" worth of concrete on the sides. Generally, you start at the bottom and work up. Hence the need for a relatively rounded bottom to get it to stick. As you get to the top, it can be steeper, as it has something below to rest on! It is important to get the top shelf done at the same time, to prevent the bottom setting first. This takes a while too! In the pic, the wife is laying the waterfall foundation.
The packing continued, and the finished product is shown below, before smoothing.
The first couple of days after packing the concrete, it is good to sprinkle it down to allow it to harden. Particularly important in the hot January days. Concrete, per se, is not overly waterproof. A friend describes his concrete pond as a sieve. I always coat the pond with a half-half mixture (by vol) of Coprox and Cement, using one of those great big whitewashing brushes. I use a half half mixture, because the only Coprox I have seen is white, and one does NOT want a white pond! I have heard of reports that grey Coprox on its own doesn't work too well. So possibly my cement concoction helps it stick better. Make a fairly thick paste, and be generous. Coprox has never failed me. You will notice that the colour is slightly whiter in the next pic, thats the Coprox, and we have the biofilter temporarily where the waterfall will be. Note the levelness of the waterline :-) :-)
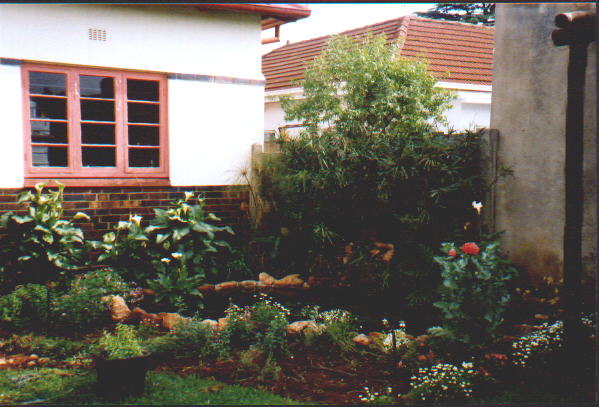
Included in the finishing is the general reticulation etc. The biofilter was obtained from Peter ``The Mad Dutchman'' whose hand painted cloth signs are to be found all over Johannesburg, and this was placed behind the concrete wall on a pile of bricks to allow the waterfall to be gravity fed via some old Kreepy Krawly pipe. I also added a bird bath within the aviary, and a little stone lined concrete channel to bring the water back to the pond to the right of the weir. We used a Little Giant 5-MSP pump, 20mm hose throughout, two ordinary garden sprinkler 20mm ``taps'' to control how much goes to the aviary, and how much to the biofilter. Some final views in Dec 1998 (ie two year's on):